
Training for the Way You Actually Conceal: Part III: Competing in Shooting Sports from Concealment
Discover how competing in USPSA from concealment can improve consistency, efficiency, and shooting performance. Learn how concealed carry practice, dry-fire drills, and shot timer feedback help build skills and pursue your competition goals.

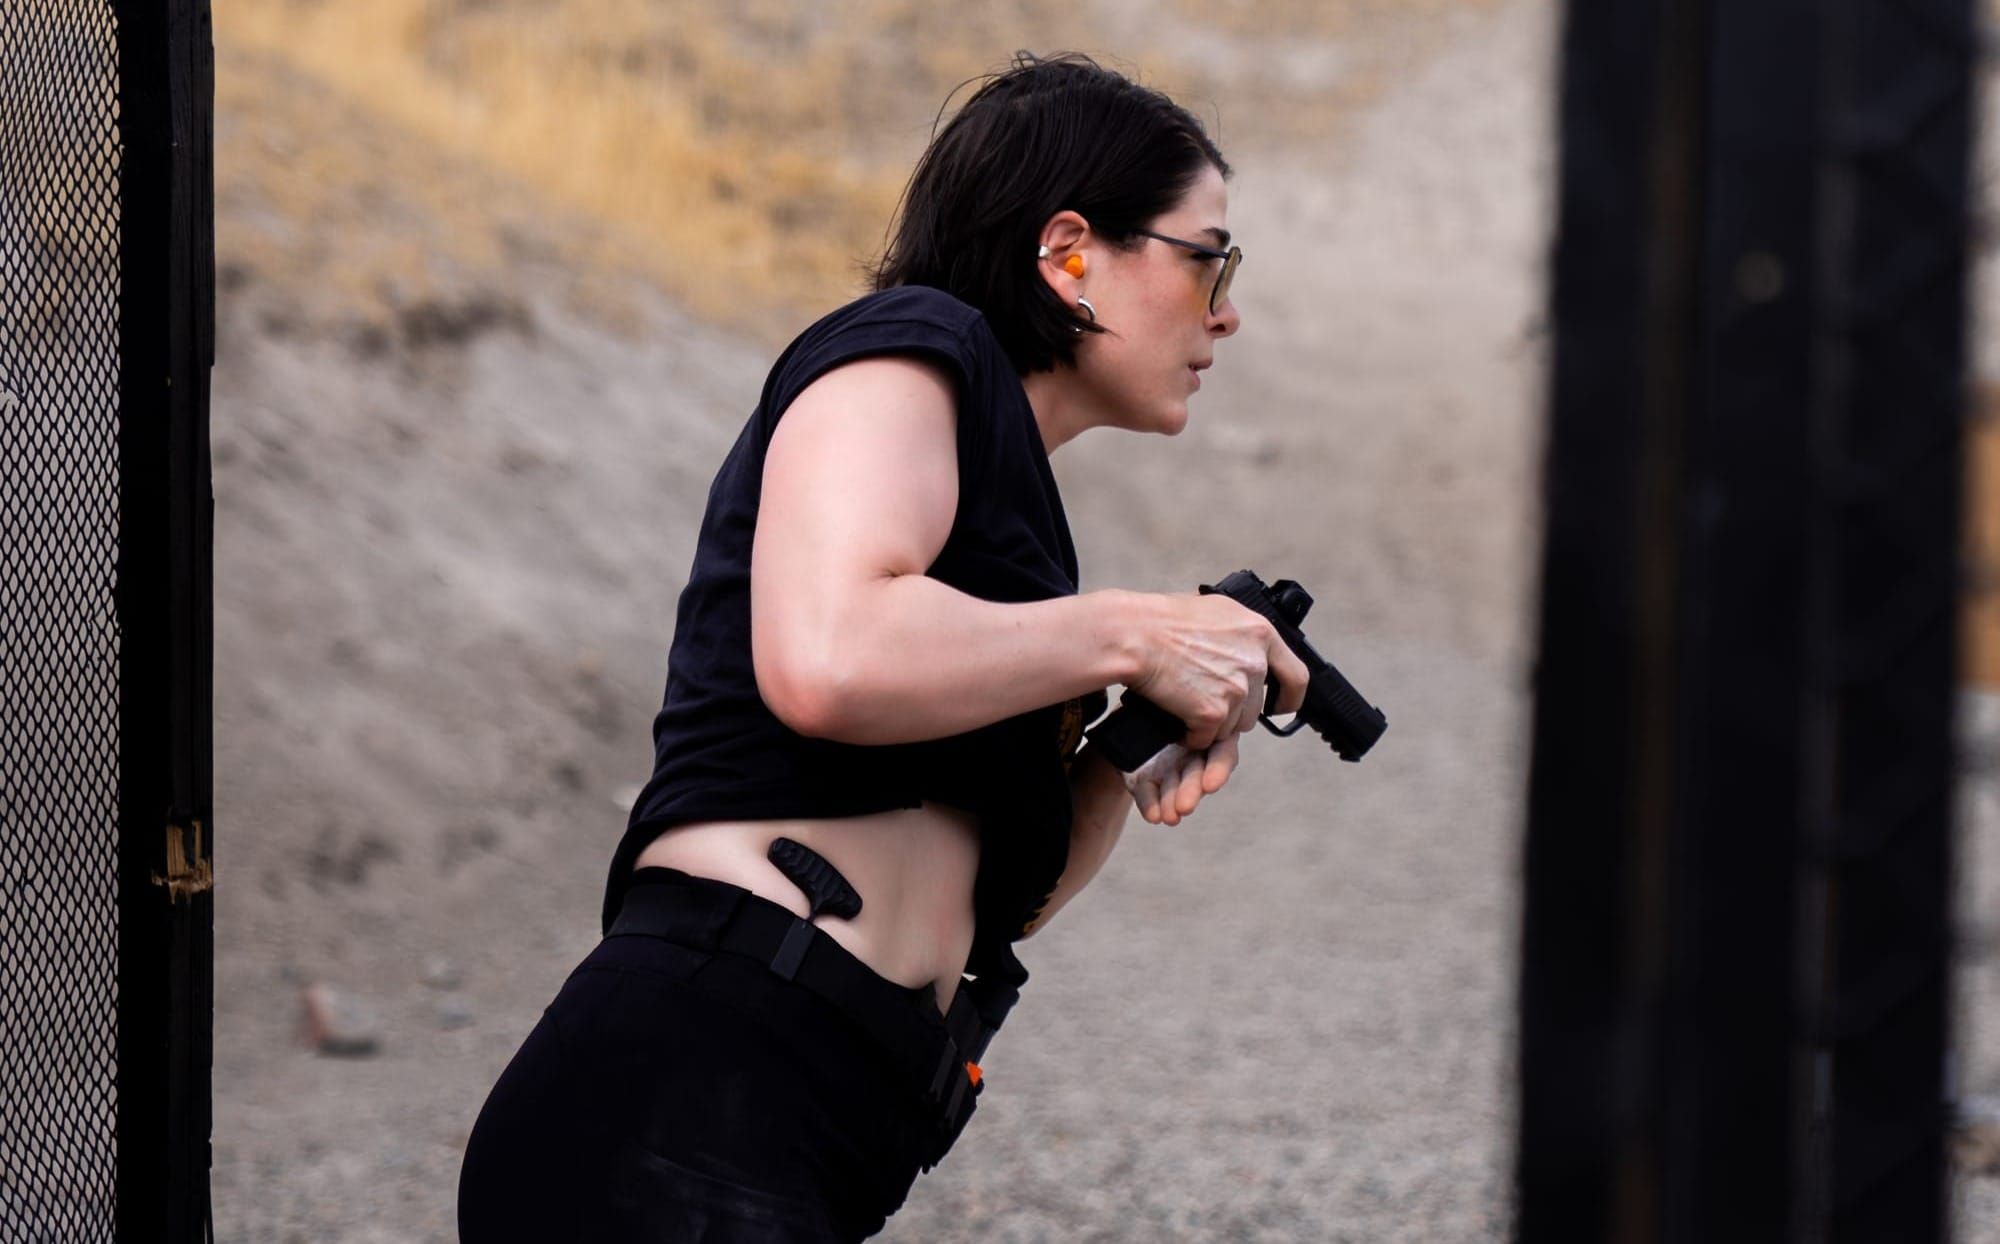
A few years into my concealed carry journey, I decided I wanted to make competition shooting work harder for me.
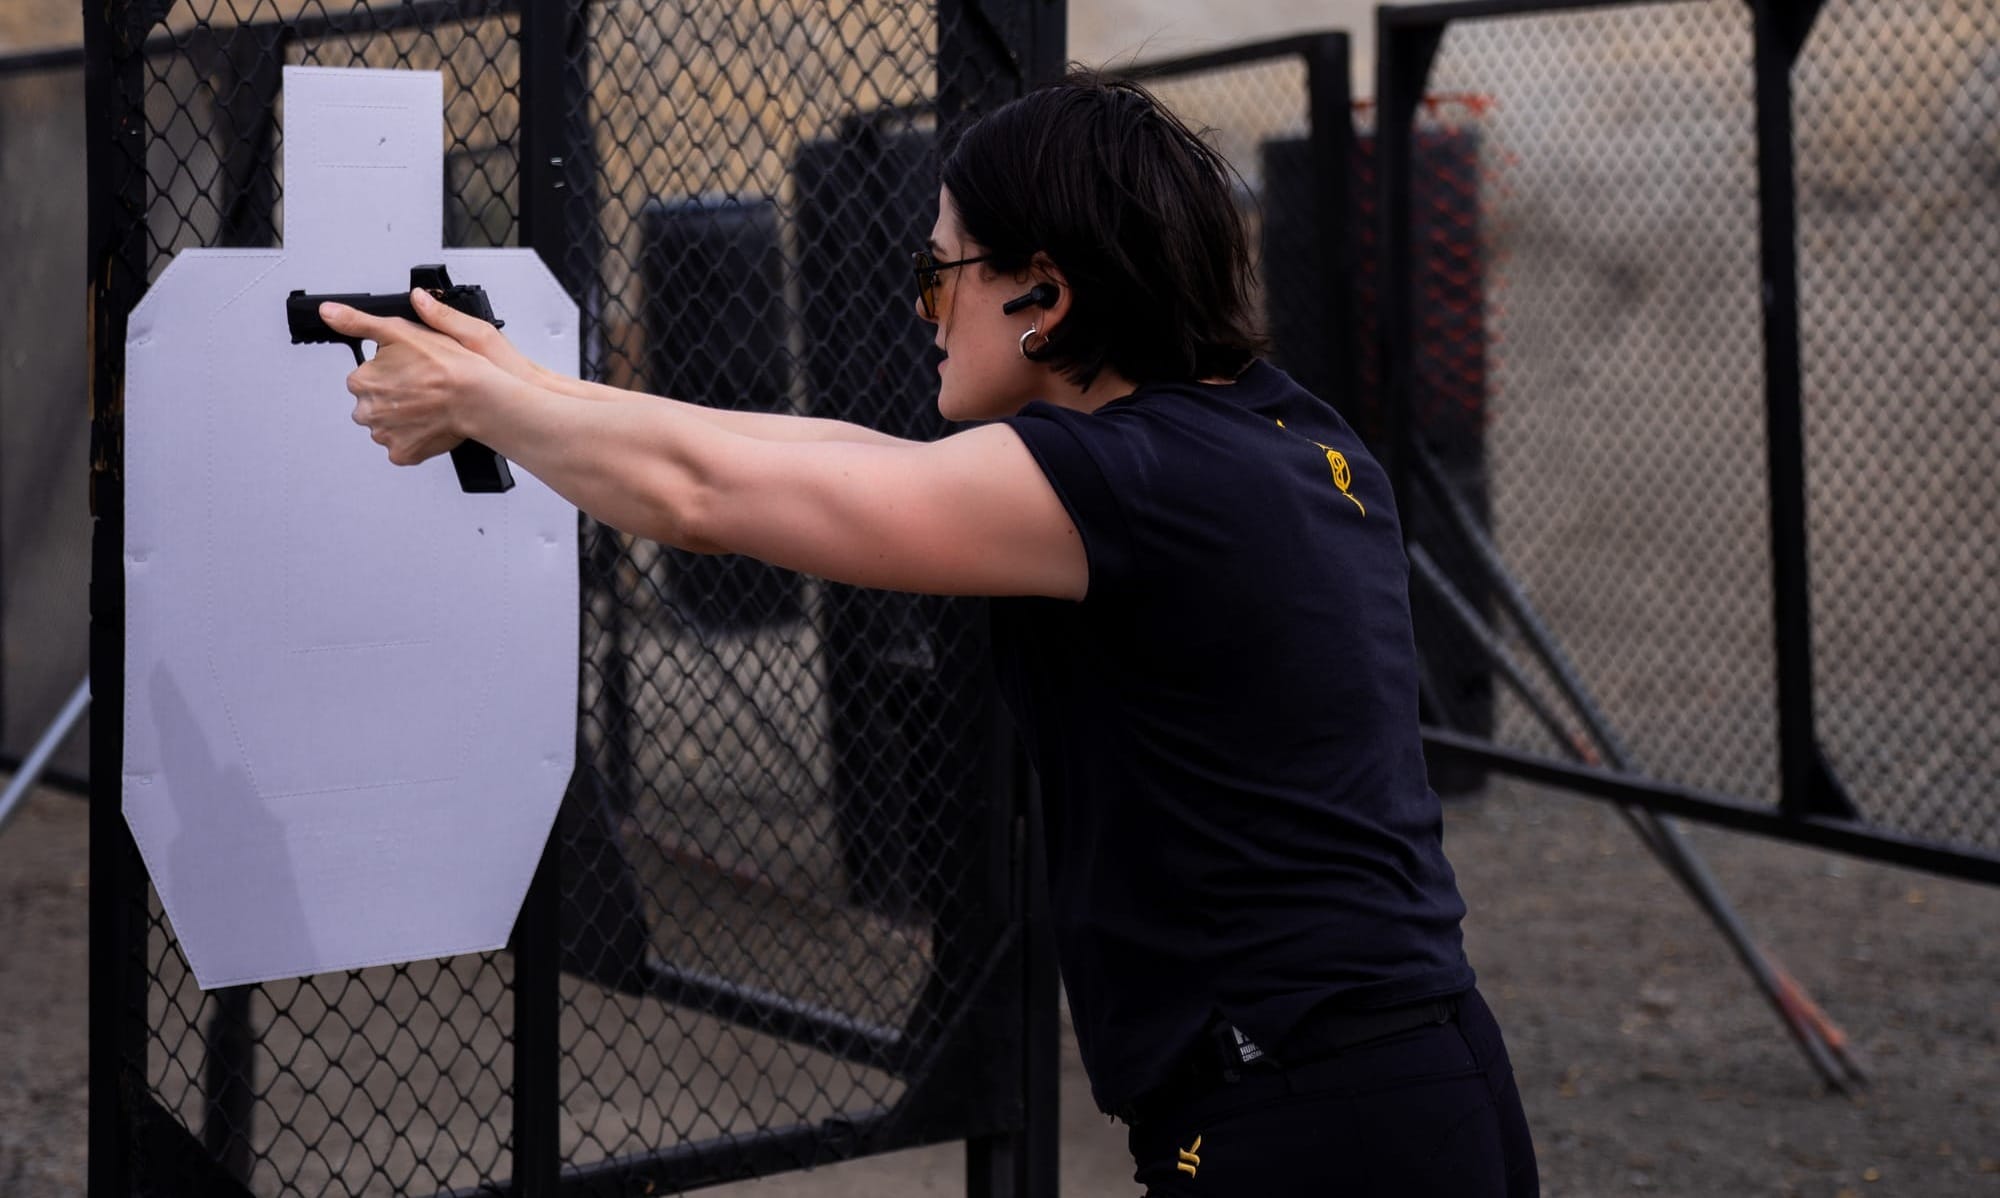
Instead of only treating USPSA as a separate sport with completely different equipment, I challenged myself to start competing from inside the waistband.
That means I am not simply grabbing a pistol from an exposed competition holster when the timer goes off. I have to manage a concealment garment first, access the firearm from the same general area I carry from in everyday life, and then immediately transition into solving a stage.
It has been one of the best challenges I have given myself as a shooter.
When I started, one of my goals was to reach B Class while competing this way. I achieved that goal in 2026. Now I have a new one: A Class in 2027.
The process has reinforced something I have talked about throughout this series. Concealed carry is not a skill you finish learning. You keep finding new ways to challenge it.
For me, USPSA became one of those ways.
Why I Compete From Inside the Waistband
There are absolutely advantages to purpose-built competition equipment. That is why it exists.
My personal goal, however, has been to spend more time developing efficiency with equipment that overlaps with how I actually carry.
Competing from inside the waistband forces me to become extremely familiar with things like:
● Clearing my concealment garment consistently
● Establishing the same grip under time pressure
● Finding my sights immediately
● Managing spare magazines from concealed positions
● Moving aggressively without losing awareness of my equipment
● Performing all of those tasks while processing an entire stage
That last part is important.
When you add a timer, movement, targets, stage plans, penalties, and competition pressure, inefficiencies become very obvious.
Something that feels perfectly adequate during a casual practice session can suddenly feel painfully slow once the buzzer goes off.
That is one reason I love competition- the timer does not care how fast you think you are.
Efficiency Matters
In Parts I and II of this series, we spent a lot of time working on accessing the firearm from concealment.
If you have been practicing along with the series, you should already have accumulated a lot of repetitions.
At this point, the goal becomes making those movements more consistent and eliminating unnecessary motion.
The basic sequence is still the same:
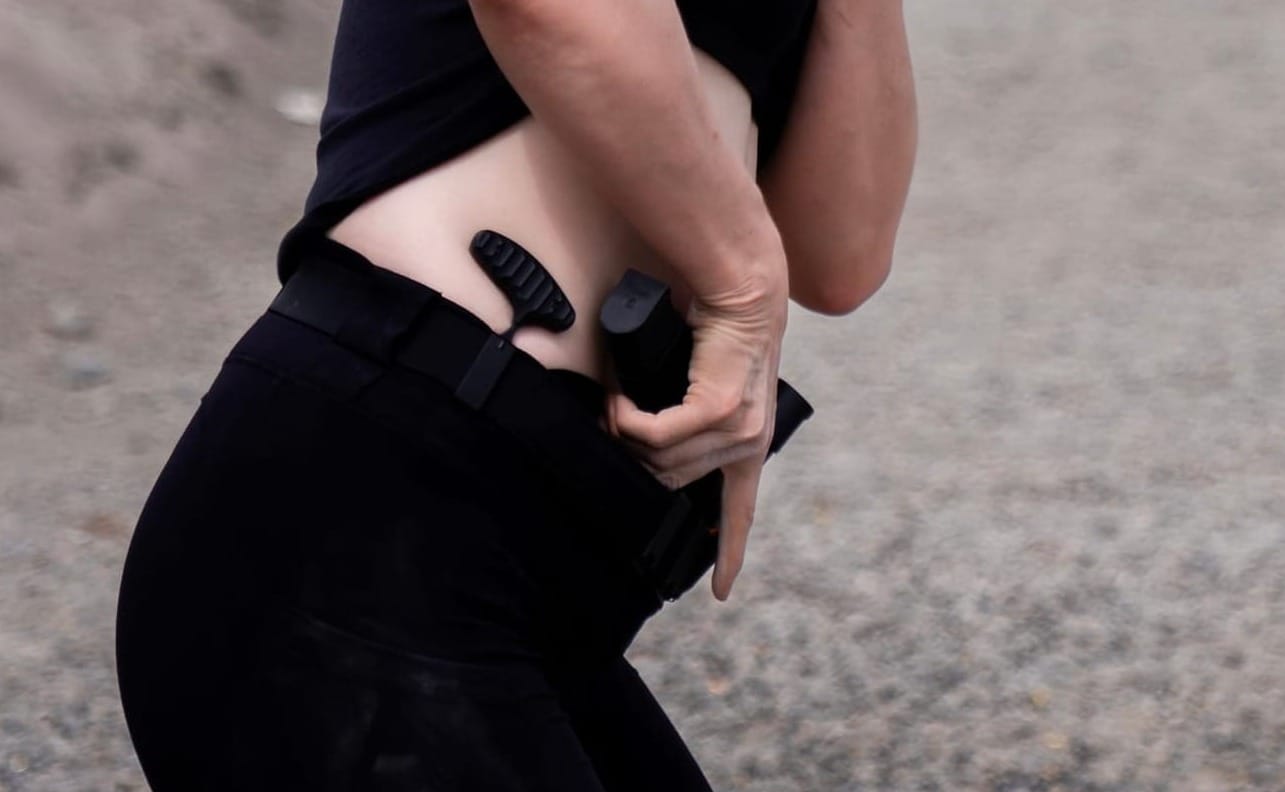
1. Clear the concealment garment. I use my support hand to pull the garment high and pin it to my chest (to prevent passing the muzzle over my hand during the draw) enough that it cannot interfere with my grip or the firearm.
2. Build the firing-hand grip. My middle, ring, and pinky fingers wrap securely around the grip while my thumb stays behind the grip so I have a secure purchase on the firearm before adding my support hand.
3. Bring the firearm out of the holster. I drive the firearm upward until it is clear. I then rotate my wrist clockwise, orienting the firearm toward the target area while the trigger finger remains indexed outside the trigger guard.
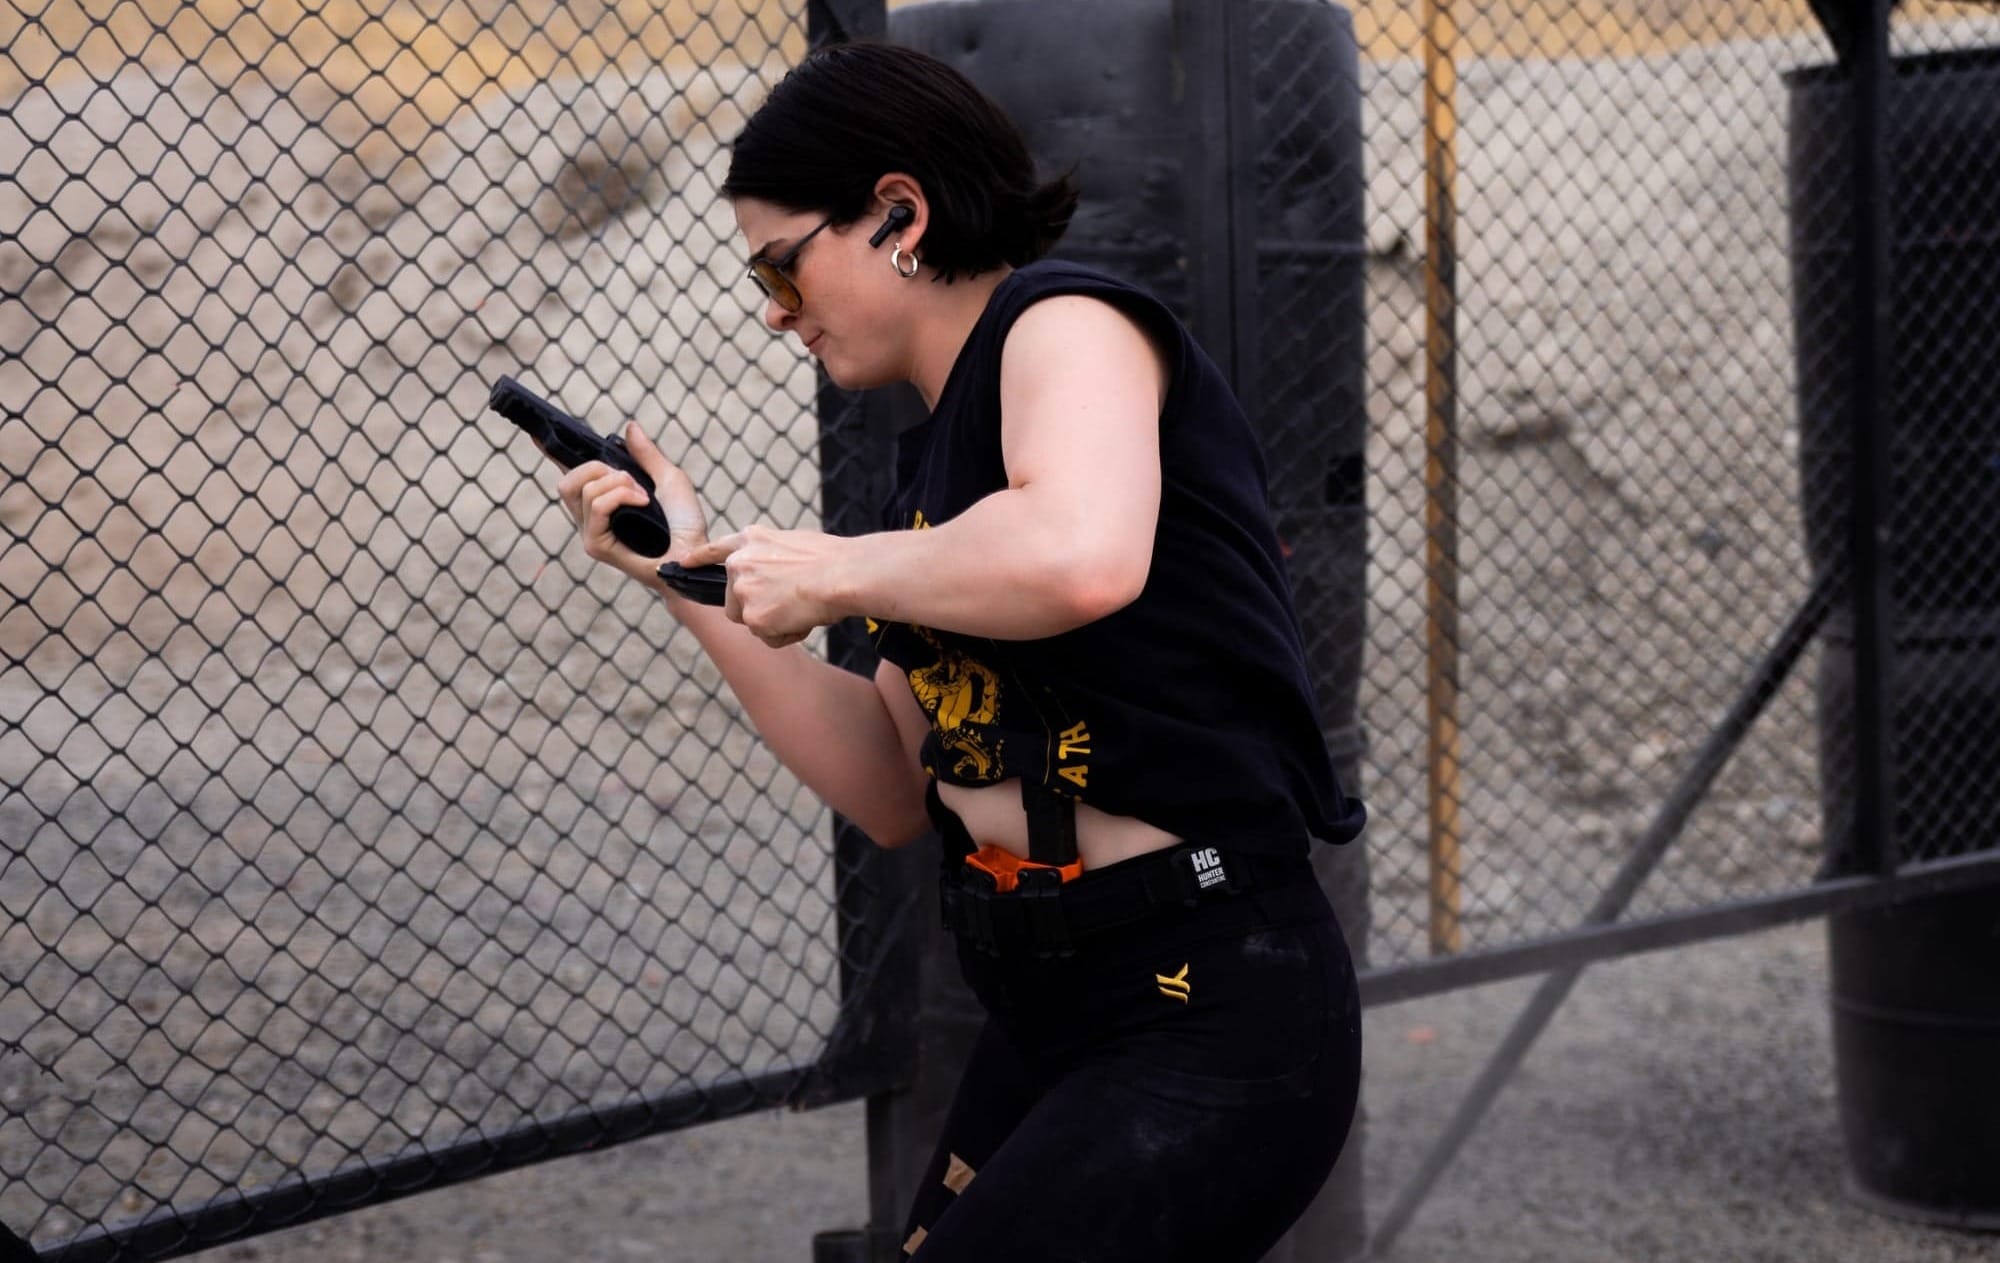
4. Meet with the support hand. Around chest level, the support hand joins the firearm, and I finish building my two-handed grip. This includes connecting your support hand with your pre-established strong-hand grip (your thumbs should be ‘spooning,’ to where there is no gap between them).
5. Present. Once the grip is established, I extend toward the target and acquire my first usable sight picture.
6. Reholster. When reholstering, drive the hips forward and angle the muzzle forward as you slowly lower the firearm into the holster. Note that there should be no rush here, as re-holstering is often the most dangerous part of concealed carry training when working with live ammo.
The biggest difference in competition is that the draw is rarely the end of the problem- it is the beginning.
Immediately afterward, I may need to transition to another target, move positions, reload, or execute the rest of a stage plan.
That is why I want the draw itself to require as little mental bandwidth as possible.
Train in What You Plan to Wear
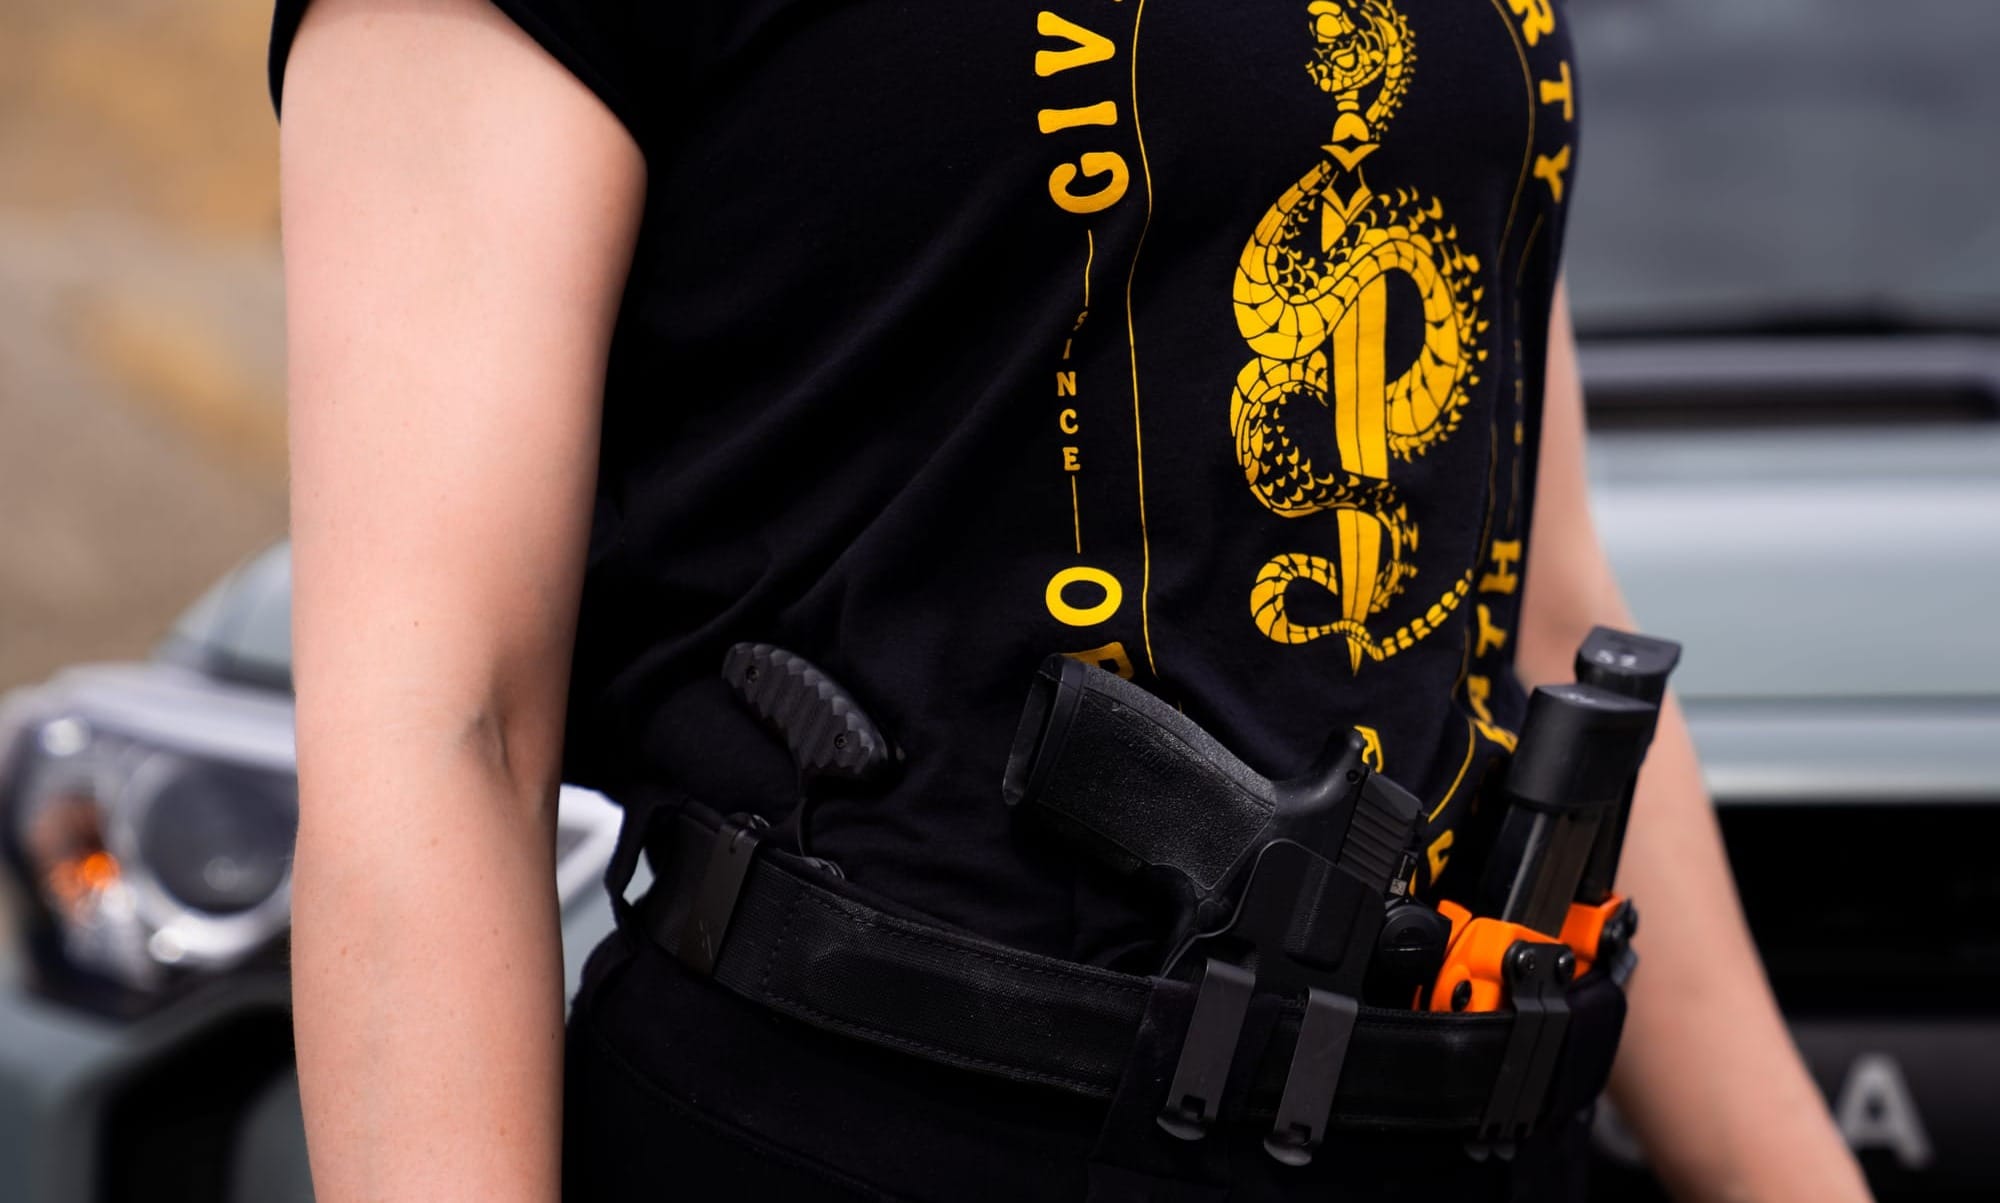
One of the easiest things you can do to make match day more predictable is practice in the equipment you are actually going to use.
That includes your concealment garment because different shirts behave differently.
A lightweight shirt may clear completely differently from a sweatshirt. A fitted shirt may require more deliberate garment management than something loose. Even the length of the shirt can change how the movement feels.
If I know what I am wearing to a match, I like getting repetitions in with that garment beforehand. The goal is familiarity.
On match day, I already have enough things to think about. I do not want to discover during my first stage that the shirt I chose behaves completely differently from what I have been practicing in.
Do Not Forget the Spare Magazines
Competing from concealment also made me pay much more attention to where I carry my spare magazines.
Accessing a spare magazine from inside the waistband or from underneath a concealment garment takes practice too.
If you carry two spare magazines, which I personally prefer for this type of training, do not only practice accessing the easiest one.
Become familiar with both positions.
Under competition pressure, you may not always interact with your equipment exactly the way you expected. Building familiarity with each location gives you more options and helps prevent hesitation.
For dry-fire practice, I recommend using inert training magazines or otherwise setting up a dedicated unloaded training environment so the entire session stays separated from live ammunition.
Dry-Fire Drill: Draw, Reload, Move
For the final drill in this series, we are going to combine some of the skills we have been developing.
The goal is not simply to perform one fast draw- it is to start connecting skills together the way you eventually have to during a stage.
Set Up Your Training Area
Remove live ammunition from the room and verify that your training firearm is unloaded before beginning.
Use a safe direction and set up a few visual reference points. Scaled USPSA-style dry-fire targets work very well for this because they allow you to create the feeling of a larger stage inside a relatively small space.
Then put on the actual belt, holster, magazine positions, and concealment garment you plan to train with.
Drill 1: Draw to Visual Confirmation
Start with a generous par time on your shot timer.
At the beep:
● Clear the concealment garment
● Access the firearm
● Build your grip
● Present toward the first target
● Stop when you have an acceptable sight picture
● Dry fire 2 reps to replicate what you will need to perform on USPSA paper targets (unless otherwise specified)
Reset and repeat.
You are not trying to beat the timer yet; you are trying to make every repetition look the same. Once the movement is consistent, begin gradually reducing the par time.
Drill 2: Add the Reload
Using inert magazines (unloaded mags) in your dry-fire setup, begin incorporating your spare-magazine positions.
Work from one magazine location for several repetitions, then switch to the other.
Pay attention to whether you can consistently access the equipment without looking down or fighting with your concealment garment.
The goal is familiarity with the location and movement, not simply racing the timer.
Drill 3: Add Movement
Once the stationary pieces are comfortable, begin adding simple movement between visual reference points.
Set up multiple targets between various walls to force yourself to move and acquire said targets. You’ll start at one position, perform your dry-fire sequence, and then move to a second
designated position and reacquire another target. Let your eyes lead, and the gun follow for efficient transitions.
This starts adding the mental component that makes USPSA so valuable. You are no longer thinking about one isolated skill- you are beginning to connect multiple tasks!
The Timer Is Feedback
The shot timer becomes especially useful at this point in training. My go-to timer is the SG Timer 2 by Shooters Global.
USPSA introduces time pressure whether you like it or not, so I want some of my practice to include that pressure too.
But I do not want the timer controlling my technique; I want it measuring my technique.
If shaving another tenth of a second causes my garment clear, grip, visual confirmation, or equipment access to fall apart, I did not really become faster. Instead, I simply became sloppier.
The goal is to slowly compress the amount of time it takes to perform a movement that is already consistent. You can slowly decrease par time in your draw to first shots as you move through a sequence to begin working on your training efficiency.
Want to Take This Further?
If concepts like using a shot timer, scaled USPSA targets, structured dry fire, reloads, or movement training are new to you, I highly recommend checking out the Practical Shooting Training Library and Joey Sauerland’s courses. His training breaks down practical shooting skills for USPSA in a really approachable way, including dry fire, movement, grip, target arrays, and building speed without sacrificing consistency.
It is a great resource if you want more structure around the same skills we are introducing here and want to start training them with a more competition-focused approach.
Competition Is a Laboratory
One of my favorite things about USPSA is how honest it is.
You walk a stage. You develop a plan. Then the timer goes off, and you find out whether you can actually execute it.
That feedback has helped me identify weaknesses in my concealed-carry skills that I might not have noticed otherwise.
Maybe my garment clear was inconsistent, my grip inefficient, my first sight picture slow, or my spare mag placement awkward once I started moving.
As long as I execute movement with safety, competition gives me somewhere to test those things.
That does not mean a USPSA match is defensive training. It is a shooting sport, and I think it is important to understand that distinction.
What it does give me is an opportunity to pressure-test certain fundamental skills, build efficiency, and learn how I perform when there is a timer and a little adrenaline involved.
Keep Expanding the Skill Set
Throughout this series, we have gone from deep concealment to traditional appendix carry, and now into competition from concealment.
They may look different, but the lesson is the same: five years into concealed carry, I still see it as a skill I am constantly refining as my life, training, equipment, and goals evolve.
Right now, one of those goals is taking the IWB setup I have used to reach B Class and continuing to push until I reach A Class.
There will always be another layer to work on.
And for me, that is one of the things that makes concealed carry and competition shooting so rewarding.
Stay safe and stay vigilant.